
Making a blog banner used to mean firing up Canva, digging through endless stock libraries, or waiting on a designer. AI flipped that workflow on its head. Now? You take an article idea, feed it to the right image generator, and score a solid visual in minutes. Plus, your whole site actually looks consistent for once.
Speed isn’t everything, though. A featured image has to tell the story fast. It needs empty space if you want to drop text on it, stay sharp as a tiny thumbnail. And load without dragging your page speed down. Some AI generators crush photorealism. Others specialize in clean vector illustrations, custom brand graphics, or images that actually spell words right.
This guide delivers practical banner options for marketers, site owners, bloggers, and SaaS teams who desperately need great graphics without wrestling with any painful design work.
What Makes a Good AI Image Generator for Blog Images?
The best tool rarely spits out jaw dropping pictures. When writing a blog post, practical use beats visual fireworks. Every single time.
A solid image generator needs to hand you real control over subjects, framing, style, sizing, and mood. Plus, it should make spinning up a quick variation simple when the first output inevitably misses the mark.
For blog featured images, look for:
- Prompt accuracy:This specific tool must seamlessly master written themes, plus visual contexts.
- Composition control: You pick every object, precise layout, exact background, and vital focal point.
- Useful aspect ratios: Landscape formats elevate website headers and social sharing. They shine.
- Consistent styles: Invaluable tool for articles from a single brand.
- Editing or variation features: Direct image editing really saves time.
- Text handling: Just right for a snappy headline, or say, a quick image tag.
- Commercial-use clarity:Check generation licenses thoroughly prior to conducting any commercial tasks now.
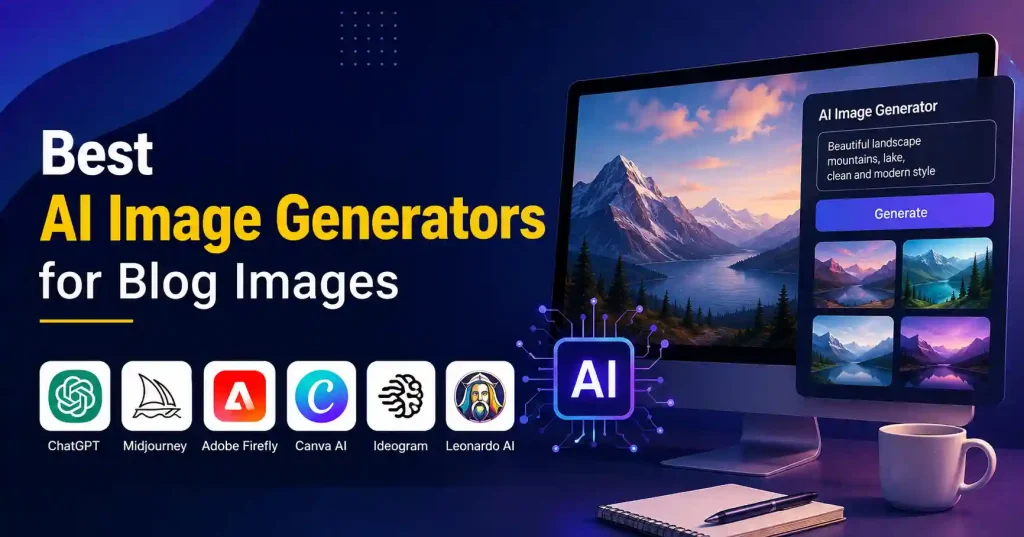
Best AI Image Generators for Blog Featured Images
1. ChatGPT Images
ChatGPT shines when you would rather describe a visual concept in plain English than wrestle with some clunky interface. Pitch your article topic, target crowd, style, and layout details. That is it. Then you just tweak the output with follow-up prompts until it finally clicks.That’s particularly useful for content teams because the image creation process can happen alongside research, writing, and editing. You can also request variations instead of starting from scratch.
OpenAI’s newest art engine handles complex text, remixes photos seamlessly, and executes hyper-specific commands. Quite remarkable.
Best for: Bloggers, SaaS marketers, content teams, and people who want conversational control.
Watch out for: Don’t accept the first image automatically. Review the composition at the actual size it will appear on your site.
2. Midjourney
Midjourney creates striking images. It genuinely shines whenever an article demands editorial punch or heavy styling.
Stock photos often feel entirely dead on certain topics. Skip the boring literal snapshot of a laptop sitting on a desk. Go for something wilder instead, like abstract workspaces, humming digital networks, or a strange, futuristic workflow. Midjourney consistently nails those abstract concepts without breaking a sweat.
Best for: Highly visual blogs, creative publications, technology explainers, and distinctive editorial artwork.
Watch out for: If your blog requires many images with the exact same visual language, you’ll need to spend time refining prompts and maintaining consistency.
3. Adobe Firefly
Adobe Firefly makes sense for marketers already locked into Adobe. It gives you AI image creation built right into a workflow that probably already includes Photoshop and other heavy tools.
For a busy content team, convenience matters when the generated picture is just step one. Because sometimes you need to yank out an awkward object, fix the framing, slap on a brand logo. Or prep half a dozen aspect ratios for entirely different channels all at once.
Best for: Marketing teams, designers, and businesses already using Adobe products.
Watch out for: If you only need a simple featured image once or twice a month, its broader creative workflow may be more than you need.
4. Canva AI
Canva is a convenient choice for bloggers who don’t want image generation to be a separate design task. You can create a visual and then immediately work on the surrounding design, including headlines, logos, shapes, and social-media versions.
This makes Canva especially useful when your featured image needs text. A generated background can become a complete blog graphic without moving between several applications.
Best for: Bloggers, small businesses, social media teams, and marketers who need finished graphics rather than raw images.
Watch out for: Templates can make different websites look similar. Customise the generated visual instead of relying entirely on a ready-made layout.
5. Ideogram
Ideogram is worth considering when text inside an image matters. That works well for blog thumbnails. The visual has to spell out the article title or a quick concept right away. Take a post called Best AI Automation Tools. Instead of just slapping the headline there, use a slick workspace illustration with a short label. It grabs the eye.
Best for: Blog graphics, posters, promotional visuals, and designs where typography is part of the image.
Watch out for: Keep text short. Even strong image models can make mistakes with longer phrases or complicated layouts.
6. Leonardo AI
Leonardo AI is useful when you want more creative control and a range of visual styles.Content teams turning out endless visuals need this integration. Rough concepts. Hyperrealistic shots. It locks in a steady, cohesive house style. Gone are the messy, disjointed graphics. Everything just clicks together seamlessly, keeping your brand looking remarkably sharp across all projects.
Best for: Content creators, marketers, game or design-related blogs, and teams experimenting with different visual styles.
Watch out for: More controls can also mean a steeper learning curve. Don’t add complexity unless it improves your workflow.
How to Choose the Right AI Image Generator for Your Blog
Choosing a tool becomes much easier when you start with your publishing workflow rather than the tool’s feature list.
Ask yourself what you actually need.
- Decide what type of images you publish. A SaaS blog may need clean conceptual illustrations, while a travel site might prefer realistic scenes.
- Define your visual style. Decide whether your images should be realistic, minimal, illustrated, cinematic, or brand-focused.
- Check how much editing you need. If you regularly add logos, titles, or design elements, an integrated design platform may be more convenient.
- Test several prompts. Use the same article topic across two or three tools and compare the results rather than judging them from marketing screenshots.
- Consider your publishing volume. A tool that feels perfect for five images may become frustrating when you’re producing 50 every month.
- Check licensing before publishing. Terms can differ between platforms and plans, so verify the current rules for commercial use.
For broader website optimization, your image workflow should also fit into your overall SEO-friendly blog posts rather than being treated as a completely separate task.
How to Create Better Blog Featured Images With AI
Better prompts make better images, Period. Skip those endless walls of text if you must, yet the engine still demands genuine context to visualize your vision. Feed it real substance, or brace yourself for absolute garbage.
A simple prompt structure works well:
Topic + visual concept + style + composition + audience + aspect ratio + restrictions
For example:
Create a clean editorial featured image for a blog article about AI automation tools. Show a modern business workflow connecting several AI-powered software tools, with a professional SaaS aesthetic, simple composition, subtle technology elements, and clear negative space on the left for a headline.
That is more useful than simply typing “AI automation tools.”
Another small trick: describe what you don’t want. If your blog has a professional tone, you might specify no cartoon characters, no excessive glowing effects, no clutter, and no unnecessary text.
Before publishing, check the image at thumbnail size. An image can look fantastic at full resolution but become confusing when displayed at 600 pixels wide or less.
Don’t Forget Image SEO and Performance
Generating the image is only half the job. Massive image files drag a page down. Bad filenames just clutter your media library. So before you upload anything, shrink those dimensions to what your theme actually uses and compress the file hard enough to matter without ruining the visual quality. Give the file a clear name, write real alt text, and skip the keyword stuffing nonsense entirely.
If you run WordPress, optimizing visuals needs to be baked right into your WordPress SEO settings. The rule carries over to your theme and plugins too. Bloat kills speed. That is why picking lightweight free WordPress themes for SEO optimization works so well alongside a smart image workflow.
Common Mistakes to Avoid
AI art saves time. But skipping human review brings massive, totally avoidable headaches you simply cannot afford.
Using generic prompts often produces generic images. Give the generator enough context to make the visual specific to your article.
Excess text ruins images, spawning bizarre typography or glaring spelling errors, Honestly? If visuals speak clearly on their own, just leave them completely blank
Choosing style over relevance is another common mistake. A beautiful futuristic image isn’t necessarily useful if the article is a practical WordPress tutorial.
Omitting compression hurts speed. Really, that featured graphic does not need immense file sizes to appear crisp.
Finally, don’t publish an image simply because AI created it. Check faces, hands, logos, interface elements, text, proportions, and visual inconsistencies before the image goes live.
FAQ’s
What is the best AI image generator for blog images?
There isn’t a single universal winner. ChatGPT Images works well for conversational prompts and tweaks, while Midjourney nails highly stylized looks. Canva handles complete blog graphics easily. Need text inside the design? Ideogram is your tool.
Can I use AI-generated images as blog featured images?
Yeah, usually. But you really need to check the current terms, the commercial-use stuff, for your exact platform and plan. Licensing rules shift, so don’t just trust some old article.
What size should a blog featured image be?
A landscape image sitting around twelve hundred pixels wide works well for blogs and social feeds. But honestly? The exact size depends heavily on your WordPress theme and how the photo actually renders.
Should a blog featured image contain text?
Right, brevity helps. A quick phrase just lands, you know? While those big chunks of text, they always seem to mess with images and, frankly, bring out those weird AI spelling glitches.
Is AI better than stock images for blog posts?
Not always. AI shines when you chase a rare concept that stock libraries just don’t carry. For basic subjects though? A solid stock image stays faster, plus it looks natural.
How can I make AI-generated blog images look consistent?
Build a clear visual system. Stick to matching color choices, layouts, art styles, camera angles, and prompt formats for all articles. Save your best prompts as templates. That way, the team skips starting from scratch every single time.
Conclusion
The right AI image generator for blog posts isn’t the one loaded with the most features. It has to fit your publishing rhythm. Figure out your visual style first, try a couple of options, and stick with the tool that delivers steady results without creating extra design headaches.
For most teams, the actual workflow is pretty simple: dream up a relevant concept, tweak the composition, inspect the output closely, resize and compress the file, and tack on some descriptive metadata before hitting publish. That keeps your featured images sharp while making sure visual production never turns into a bottleneck.



Pingback: Best AI Tools for Bloggers in 2026: 7 Top Tools
Pingback: AI Images for Blog Posts: How to Create & Optimize Them