
Massive images are the sneaky performance killer in WordPress. Your code might be pristine, your hosting solid, and your theme light as a feather. Still, the site drags. Why, Browsers waste time downloading bloated files way bigger than the actual screen layout demands.
If heavy product shots, banners, or screenshots are dragging down your load times, check the images first. You don’t even have to delete your visual content, Usually, just smart optimization fixes the whole mess and speeds things right up.
You need to serve them more efficiently.
WordPress already supports responsive images and can generate multiple image sizes, allowing browsers to select a more appropriate file for the available screen size. The problem often starts when the original uploads are unnecessarily large, images aren’t compressed, or the wrong version is being displayed.
Why Are WordPress Images Slowing Website Performance?
Unoptimized images drag performance on two fronts, physical dimensions and bloated file sizes. Picture shoving a massive four thousand pixel photograph into a tiny layout box, it drags tons of dead weight.
Consider a single blog post crammed with screenshots sitting at over one megabyte apiece. Long before the browser sniffs your CSS, it chokes on endless megabytes.On a mobile connection, that can become noticeable very quickly.
The issue isn’t simply the number of images, either. One poorly optimized hero image can have more impact than several small illustrations because the largest visible image may become the page’s LCP element.
WordPress’s own performance documentation recommends optimizing graphics, choosing suitable formats, and considering modern formats such as WebP.
How to Fix WordPress Images Slowing Website Performance
You don’t need to rebuild your website to address oversized images. Work through the following steps and test the page after each meaningful change.
1. Find the Images That Are Actually Causing the Problem
Start with evidence rather than compressing your entire media library.
Run a performance test on a few representative URLs:
- Homepage
- A typical blog post
- A page with many screenshots
- A service or landing page
- A page containing a large hero image
Look for large image requests, oversized image dimensions, and the image identified as the LCP element. A single giant photo soaking up your page weight hands you an obvious target. No guessing across endless files. People always make this blunder. They spend hours scrubbing tiny icons clean while completely ignoring the massive banner image sitting right at the very top of the screen.
2. Resize Images Before Uploading Them
Compression gets plenty of attention, but dimensions matter just as much.
Your blog content area shows images around 800 pixels wide, but what if you upload a 4000 pixel original? The browser grabs way more data than any visitor actually needs.
Fix that first. Resize your images close to their display dimensions before uploading them.
You don’t have to make every image exactly the same width, but avoid sending a camera original file to a small content container.
WordPress can create multiple intermediate sizes automatically, but choosing an appropriate image size when inserting an image still matters. Its responsive image system uses srcset and sizes so browsers can select among available versions.
3. Compress Images Without Making Them Look Bad
Once dimensions are under control, reduce unnecessary file weight.
Lossy compression shrinks photo sizes drastically while preserving adequate visual quality for normal web use. Logos demand a different touch, though. Sharp text and flat colors simply cannot endure that kind of ruthless culling without falling apart.
A practical workflow is:
- Resize the image.
- Compress it.
- Inspect it at normal website size.
- Check the resulting file size.
- Upload the optimized version.
Don’t chase the smallest possible file. A heavily compressed image that looks blurry isn’t a performance success if it makes the page look unprofessional.
4. Use WebP or Another Suitable Modern Format
WebP makes total sense for a lot of WordPress sites, especially with photos and graphics. WordPress added support back in version 5. 8. According to their documentation, the format usually beats JPEG and PNG on compression.
Still, you shouldn’t just convert every single PNG blindly, Logos, transparent images, screenshots, and illustrations all have their own quirks.
The goal here is finding that sweet spot. You want a decent balance between file size, visual quality, and browser compatibility.
Got an old media library to update? Don’t swap out every file without looking first.Start with the pages where oversized images are causing measurable problems.
5. Select the Correct WordPress Image Size
Dropping an image into the WordPress editor gives you choices. Thumbnail, medium, large, full size. Take your pick. But if that photo sits inside a tight, narrow content column, using the giant original size? Makes zero sense.
WordPress generates multiple image sizes and can use responsive image markup to help the browser select an appropriate source.
There’s a useful distinction here: responsive images don’t eliminate the need for optimization. If your source image is unnecessarily large, you’re still creating extra files and wasting storage and processing resources.
6. Don’t Lazy Load the Wrong Image
Lazy loading is useful, but it isn’t something you should apply blindly.
Images that sit well below the initial viewport can usually wait until they’re needed. A large hero image or other important above the fold visual is different because delaying it can postpone the loading of the content visitors see first.
WordPress automatically adds image loading optimizations to relevant markup, including responsive attributes and loading behavior.
If your performance report identifies the main hero image as the LCP element, check whether an optimization setting is unnecessarily delaying it.
7. Add Image Dimensions to Avoid Layout Shifts
Images should have known dimensions so the browser can reserve the appropriate space before the file finishes loading.
Without that information, surrounding content may move as the image appears. That’s the kind of jump visitors notice when reading or trying to click something.
WordPress includes width and height handling as part of its image markup processing, helping browsers understand the image’s proportions before the resource finishes loading. If you’ve built custom image components or manually edited image HTML, check that you’re not accidentally removing this information.
8. Clean Up Oversized Images in Existing Posts
Optimizing new uploads won’t fix older articles that already contain massive files.
Open your most important pages and inspect their images individually. Look for:
- Original camera images
- Large PNG screenshots
- Repeated full size images
- Images displayed much smaller than their actual dimensions
- Old banners that are no longer needed
- Duplicate versions of the same image
Never just shrink a massive three thousand pixel image down to seven hundred on your page by resizing it with code. Swap it for a properly scaled file instead. Trust me, ditching that bloated monster beats uploading a fresh asset while the old weight stays buried.
For broader WordPress performance work, see GoTechMantra’s guide on how to reduce WordPress page load time. It covers caching, scripts, hosting, fonts, and other sources of page weight.
9. Be Careful With Image Optimization Plugins
Image optimization plugins can automate compression, resizing, WebP generation, and other tasks. That’s useful on sites that publish frequently or have large media libraries.
But don’t install several optimization plugins and let them process the same images. You can end up with duplicated processing, conflicting settings, unnecessary storage usage, or confusing cache behavior.
Pick one image workflow and understand what it actually does. If your hosting provider or CDN already performs image optimization, check that setup before adding another layer.
10. Use a CDN When Your Audience Is Geographically Spread Out
A CDN can help deliver static assets such as images from infrastructure closer to visitors. WordPress’s performance documentation specifically identifies CDNs as a way to distribute static files across geographic locations.
A delivery network will never magically fix a five megabyte image. Sure, it shoves that heavy file through the pipes faster. Yet visitors still swallow every single byte, Think of it strictly as transport. Not an eraser for bloat.
11. Prevent Huge Uploads From Becoming a Habit
The easiest image to optimize is the one you never upload at an unreasonable size.
Set a simple publishing rule for your team. Before an image enters the Media Library, check its dimensions and format. If several writers or editors upload content, document the preferred image workflow so everyone follows the same process.
Recent WordPress versions also include more sophisticated image processing capabilities. WordPress 7.1 documentation describes client side processing for resizing, compression, format conversion, and thumbnail generation, with a default large image threshold of 2560 pixels.
That can reduce some of the manual work, but it doesn’t remove the need to review how images are used on your pages.
12. Retest After Making Changes
Don’t assume an image is optimized just because its file size went down.
Run the same page through your performance testing process after making changes. Compare the image request, page weight, LCP behavior, and visual quality.
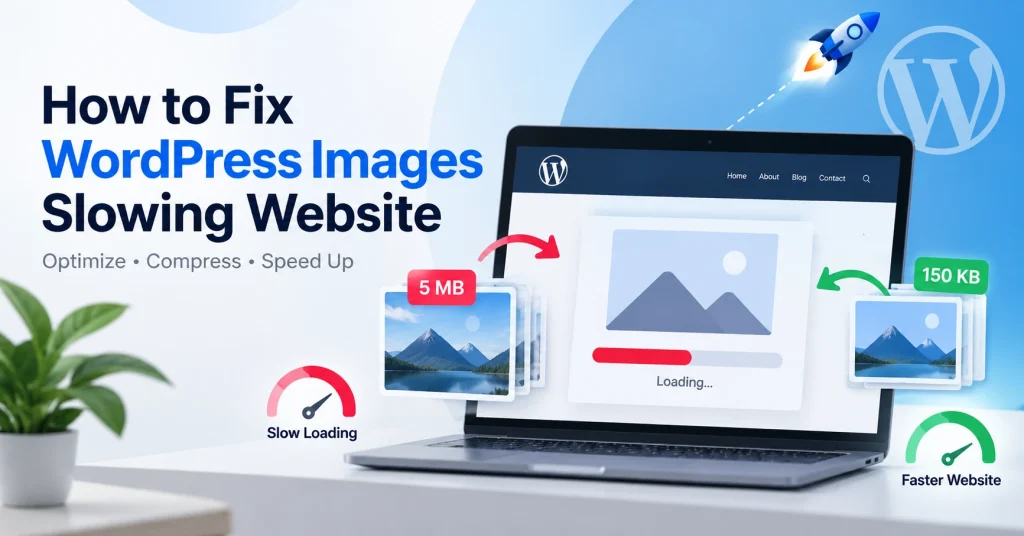
If you replaced a 2 MB image with a 150 KB version and the page still loads slowly, keep investigating. The remaining problem could be caching, JavaScript, server response time, fonts, or third party resources.
For a broader diagnosis, GoTechMantra’s guide to speeding up WordPress without plugins covers several of these areas.
A Simple WordPress Image Optimization Workflow
If you publish regularly, you can make image optimization part of your normal editorial process:
- Resize the image to a sensible maximum dimension.
- Choose an appropriate format such as WebP where it makes sense.
- Compress it while checking the visual quality.
- Upload the optimized file to WordPress.
- Select the appropriate image size when inserting it.
- Check whether the image is above or below the fold.
- Test important pages after publishing.
This workflow is easier to maintain than periodically discovering that the Media Library contains hundreds of enormous files.
Common Image Optimization Mistakes
Some speed fixes create new problems because they’re applied too aggressively.
One example is compressing every image until it looks visibly degraded. Another is converting every graphic to the same format without considering transparency or image content.
It’s also easy to lazy load everything, including the image visitors need immediately. Stacking a bunch of image optimization plugins just piles on junk without actually helping. Honestly, the dull route works best. Measure things, fix the worst bottleneck first, test it out, and stick with that change only if the page speed genuinely gets better.
FAQ’s
Why are large images bad for WordPress performance?
Massive images choke bandwidth. Worse yet, when a file massively eclipses its tiny display frame, you force every single browser to download and process mountains of completely invisible bloat.
What image size should I upload to WordPress?
There isn’t one universal dimension. Match the image to its intended display area and account for larger screens where appropriate. The important thing is to avoid uploading an extremely large original when the website only needs a much smaller version.
Is WebP better than JPG for WordPress?
WebP can shrink files without sacrificing much quality, but the best format really depends on what you’re looking at. Photos, screenshots, simple graphics, and images needing transparency? They all have different needs.
Should I lazy load all WordPress images?
No. Lazy loading is generally useful for images below the initial viewport, while important above the fold images may need to load earlier. Check which image is contributing to LCP before changing lazy loading behavior.
Do image optimization plugins improve WordPress speed?
They can reduce image file sizes and automate optimization, which can help. However, plugin quality and configuration matter, and installing multiple overlapping optimization tools can create unnecessary complexity.
Can a CDN fix oversized WordPress images?
A CDN speeds up static files. Still, it cannot shrink a massive image. You must trim down those dimensions first, and only then layer your delivery network on top.
Conclusion
Fixing sluggish WordPress images doesn’t require stripping every single graphic from your layout. It boils down to serving the proper file size, exact pixel dimensions, and streamlined modern formats without extra bloat.
Tackle the heavy hitters first. Shrink giant originals, compress wisely, and configure responsive sizes, Skip lazy loading for the graphics sitting right at the top. Swap everything over to WebP, then retest the entire page instead of simply crossing your fingers and hoping for the best.
Once image optimization becomes part of your publishing workflow, it gets much easier to prevent the same performance problems from returning.